 MyTeamSafe
You can add a number of new lone workers at the same time using a table.
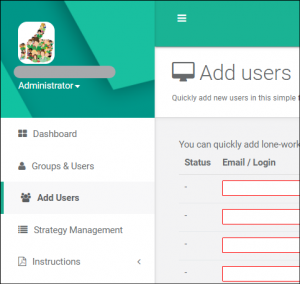
1) Log in to the Dashboard. On the left Menu bar click on “Add Users”.
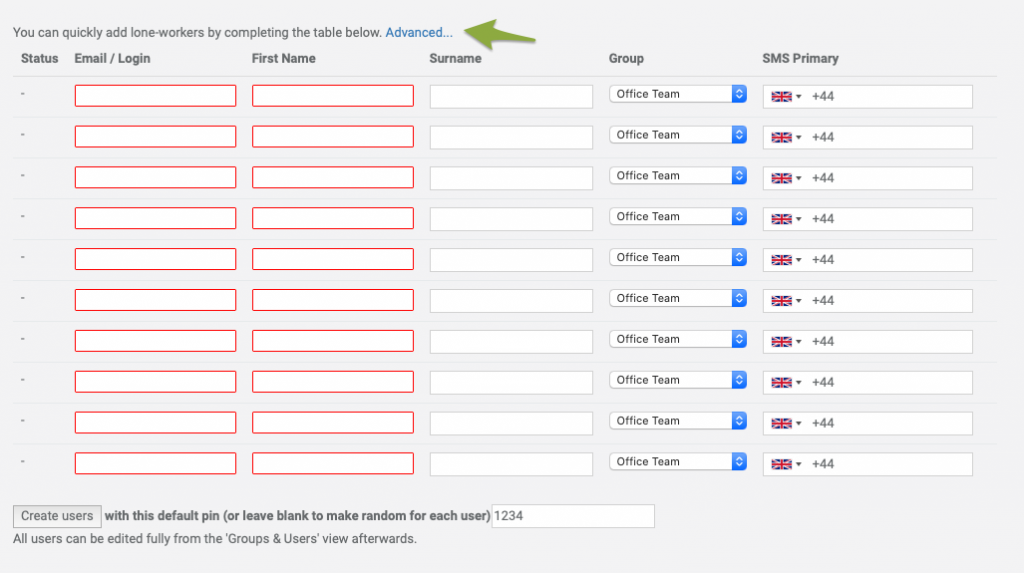
2) To add a new user fill in the main contact detail boxes;
- Email address
- First name
- Last name
- Choose which Group/team they are in
- User’s main/primary mobile number
By default users will be automatically given the Group settings for Strategy and Supervisor. The will be given no Admin permissions only lone working permission.
You can override these defaults by click on “advanced”.
A red box means the information is mandatory or that it is currently not valid.
You cannot have duplicate users with the same email log-in. If a user’s email has previously been created you will be warned when you try to create the users.
3) Always re-check all the new user details are correct.
4) At the bottom of the screen you can chose a default PIN number (used to check-in on the app) for all the users being created or delete the PIN and leave it blank so each user will be given a different random PIN.
Once you are happy that everything is correct click on the “Create Users” button.
5) An automated “Welcome” email will be sent to each user with basic instructions and how to download the app. They are also sent their log in, Password and PIN information.
6) You can update a user’s settings at at any time by going to the “Groups and Users” section, clicking on the “Users” tab and clicking on the pencil / edit icon to the right of the user’s name.
ADVANCED; Change default permissions
You only need to click on advanced if you want to override the default settings.
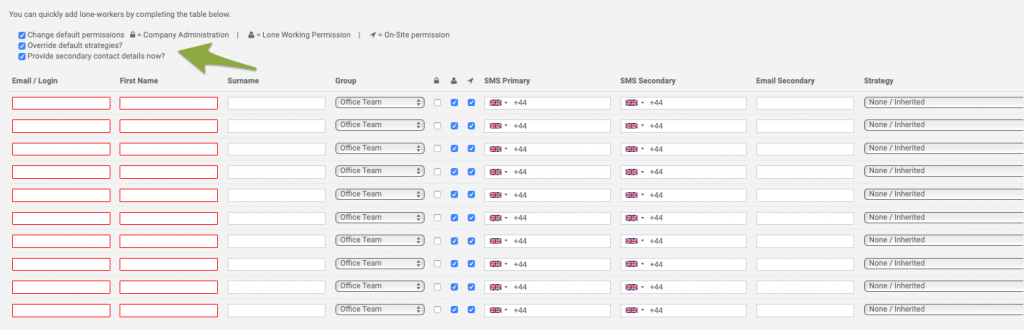
Company Administration – Gives the user employee company administration rights, the same as yourself.
Lone Working Permission – Without this critical permission the user will not be able to start lone working sessions.
Only un-tick this option if the user is NOT a Lone Worker. Only Users with Lone Working Permission ticked count towards your User count.
This feature is useful to if you want additional Admins, add additional users in the preparation of upgrading your subscription at a later date, or so you can just transfer the permission from one user to another manually.
On-Site permission – When this is enabled the user can get a full list of users and contact details and their current on-site, off-site or absent app status. Simply text the command ‘fire’, ‘list’ or ‘onsite’ to the MyTeamSafe SMS number. You will then be immediately emailed a full list of users and contact details.
If staff are required to use it consistently it’s a great feature for general emergency control purposes.
Access should be limited to only those that specifically need this level of information during an crisis.
Note: The On-Site/Off-Site/Absent is available to ALL users with a log-in. It is totally independent of lone working system and your user count.
Override Default Strategies – Instead of getting the default Group Strategy this allows you to set specific strategies (Lone working sessions) for each individual employee (User).
Secondary Contact Details – This allows you to set alternative contact information for each individual (user). This is optional.
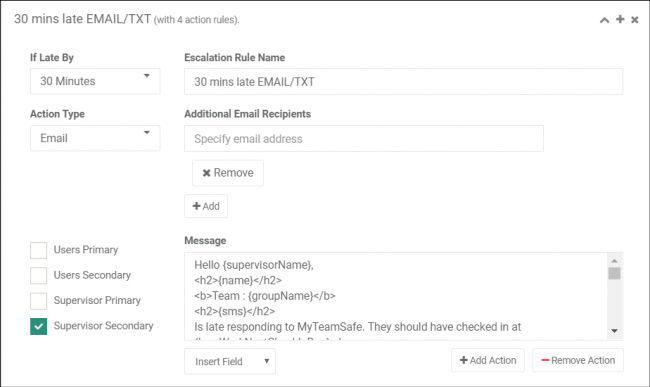
For example it could be a person’s personal phone or, if the user is a Supervisor, these alternative contact details could actually be their manager or even central 24/7 security team that can simply be utilised as part of an escalation step.
The graphic shows an Escalation step in a Strategy using secondary contact details.
If you still aren’t keeping your staff and your organisation safe with MyTeamSafe why not find out more by watching our demo video
https://content.myteamsafe.com/myteamsafe-demo-video/
or simply set up a FREE one month trial and see how it works for yourself.
https://www.myteamsafe.com/app.html#/register